How to Quickly Model Sites in SketchUp
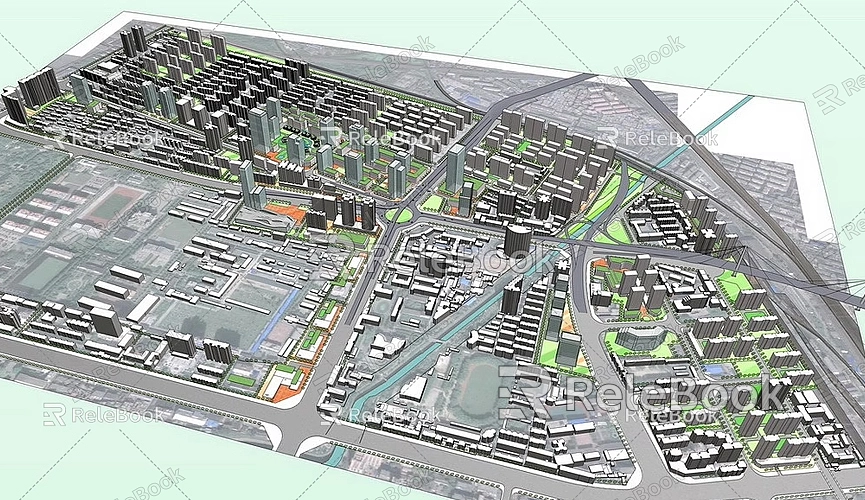
Site modeling is a critical task in modern architectural design, landscape planning, and urban design. A site model is not just a geometric shape on the ground; it serves as an essential bridge between virtual designs and the real-world environment. With accurate site modeling, designers can better showcase the interaction between buildings, landscapes, and the natural surroundings, enhancing the design's feasibility and visual impact. As SketchUp becomes one of the most widely used modeling tools for designers, many are eager to learn how to use this software to model sites quickly and efficiently.
This article will explore how to quickly model sites in SketchUp from multiple dimensions, introducing specific techniques, workflows, and resource utilization methods to help designers improve modeling efficiency and the quality of their work.
Why Choose SketchUp for Site Modeling
SketchUp is widely used in architectural design, landscape design, urban planning, and other fields due to its intuitive, flexible, and powerful features. For site modeling, SketchUp not only offers the advantage of rapid modeling but also boasts a vast model library and community support, making it the tool of choice for many designers.

Easy to Learn, Quick to Get Started
Compared to other complex modeling software, SketchUp has a relatively gentle learning curve, allowing almost anyone to quickly get started with basic operations. The user interface is clean and intuitive, with clearly laid-out toolbars and menus, making it easy to follow each step of the modeling process. Additionally, SketchUp offers a variety of shortcuts and presets for commonly used functions, greatly enhancing modeling efficiency. For site modeling, designers can quickly create basic models that meet design requirements using fundamental operations like dragging, pulling, and scaling.
Powerful Resource Library and Plugin Support
Another key advantage of SketchUp is its extensive resource library, especially the 3D Warehouse. This repository contains thousands of user-uploaded models of buildings, landscapes, furniture, vehicles, and more, allowing designers to download and use these pre-made models instead of starting from scratch, saving significant time. For site modeling, designers can quickly complete a project by obtaining elements such as roads, buildings, trees, and grass from 3D Warehouse.
In addition, SketchUp supports a wide range of third-party plugins that can extend the software’s capabilities. By installing plugins, designers can perform more efficient and precise modeling tasks, such as importing elevation data, simulating terrain changes, or generating complex landscape features, further improving modeling efficiency.
Powerful Terrain Modeling Tools
Terrain modeling is one of the most complex and critical aspects of site modeling. SketchUp provides a variety of powerful tools that help designers generate and modify terrain quickly and accurately. Whether importing existing terrain data or manually creating complex features such as mountains and rivers, SketchUp offers robust support. Additionally, built-in terrain editing features like Push/Pull and sculpting tools help designers fine-tune the site to achieve realistic and natural results.
Techniques for Quickly Modeling Sites in SketchUp
While SketchUp offers many powerful features during the modeling process, designers need to master certain techniques and workflows to complete a high-quality site model in the shortest amount of time. By leveraging resources effectively and optimizing the modeling process, designers can significantly increase efficiency and complete complex site design tasks more quickly.
Import Elevation Data to Create the Base Terrain
If you wish to incorporate real-world terrain data into your site modeling, SketchUp allows you to import elevation data (e.g., DEM files) to generate accurate terrain. Designers can obtain specific area elevation data from Google Earth and import it into SketchUp. With this feature, SketchUp automatically generates a 3D terrain model of the area, and you can adjust the model's details as needed.
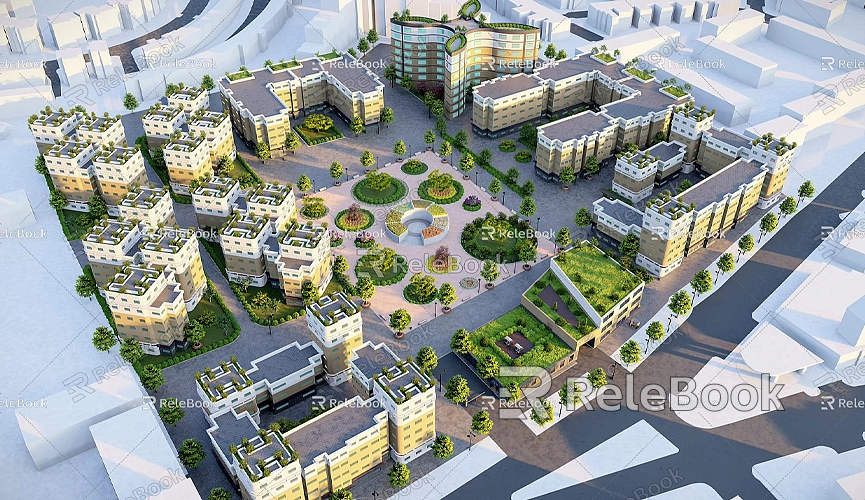
For example, when designing a large urban square or public park, importing real-world elevation data ensures that the site model is accurate and aligned with the actual geographic location from the start. Designers only need to focus on refining and adjusting the model’s details, rather than worrying about the accuracy of the terrain.
Manual Terrain Editing Using Terrain Tools
For special terrain requirements, designers may need to manually adjust imported terrain. SketchUp provides several basic terrain editing tools, such as Push/Pull, Move, and Sculpt tools, which allow designers to adjust the terrain's height, slope, curves, etc. Especially in landscape design, broad modifications may be needed, such as adjusting ground elevation or digging specific areas to create depressions.

By using these tools, designers can refine the terrain's appearance and simulate various terrain features. For example, creating a hillside, carving out a creek, or designing an artificial lake can be accomplished with simple operations that simulate complex terrain changes.
Leverage 3D Warehouse to Save Modeling Time
Site modeling isn’t just about creating terrain; it also involves adding various landscape elements. Fortunately, SketchUp's 3D Warehouse provides a vast library of pre-made models that can help designers quickly complete the site build-out. For instance, you can search for terms like “trees,” “buildings,” “roads,” or “parking lots” to directly download relevant models and import them into your site design with just a few clicks.
3D Warehouse offers not only static elements like buildings, roads, and bridges but also dynamic elements such as people and vehicles, which can help designers create more realistic simulations of a site. For quickly building a site model, 3D Warehouse is an invaluable resource.
Simplify Models and Optimize Performance
Site modeling can involve many details and elements, which may impact the rendering speed and overall performance of the model. Therefore, simplifying models and optimizing performance is an essential tip. For example, designers can create components for repetitive elements (e.g., trees, road signs) to reduce redundant data, speeding up model loading times.
Additionally, avoiding overly complex textures and materials is an effective way to improve model performance. High-resolution textures may enhance the model's realism, but excessive use of them can make the model bulky and slow to load and render. Therefore, simplifying textures and materials is key to maintaining modeling efficiency.
Add Lighting and Shadows to Enhance Visual Effects
Once the basic site modeling is complete, designers can further enhance the site model’s visual effects by adjusting the lighting and shadows. SketchUp provides extensive lighting adjustment features that simulate how the site will look at different times of day and in different seasons. By adjusting the direction and intensity of light sources and configuring shadow effects, designers can create vivid site renderings.
For example, after completing the site model, designers can simulate different times of day, observing how the sun’s position and shadow changes impact the site. This helps designers better understand how the site design will perform under various lighting conditions and make necessary adjustments.
Export and Share Models
After completing the site model, designers typically need to export the model and share it with team members or clients. SketchUp supports exporting models in various formats, such as JPEG, PNG, 3DS, DXF, and others, each suitable for different presentation needs. For example, if you need to showcase a specific view of the site, you can export it as a high-quality image file; for more complex rendering, you can export the model in Collada or other 3D formats for further post-processing.
For collaboration, designers can also directly share SketchUp files with the team or use cloud storage services like Trimble Connect for online sharing and multi-user collaboration. This ensures that project members can access, modify, and review the site model at any time, maintaining project consistency and efficient progress.
How to Enhance Modeling Efficiency: Effective Use of External Resources
To complete a high-quality site model in the shortest time possible, besides mastering SketchUp’s modeling techniques, the effective use of external resources is also crucial. Using high-quality textures, HDRI images, and detailed 3D models can significantly improve modeling efficiency and results.
For example, if you need high-quality 3D textures and HDRI images for your models and virtual scenes, you can download them for free from https://textures.relebook.com/. If you require detailed 3D models, you can download them from https://3dmodels.relebook.com/. Relebook offers a vast selection of high-quality 3D resources. These assets not only enrich the site's details but also save designers substantial modeling time, making your project more expressive.
Quick site modeling in SketchUp is not only a test of modeling skills but also of a designer’s creativity and resource management capabilities. By efficiently using SketchUp’s powerful modeling tools, resource libraries, and plugin support, designers can complete high-quality site models in a short time. Mastering effective modeling techniques, simplifying model design, and optimizing rendering effects are essential for improving modeling efficiency.
Furthermore, leveraging external resources, such as high-quality 3D textures, HDRI images, and detailed 3D models, can further enhance the visual impact and realism of the design. We hope the tips and resources provided in this article will help you model sites more efficiently in SketchUp and create stunning design projects.

